Creating Custom Nodes
Intro
In this short tutorial you will learn the basics of creating your own custom mission objectives and utilities.
Mission Objectives
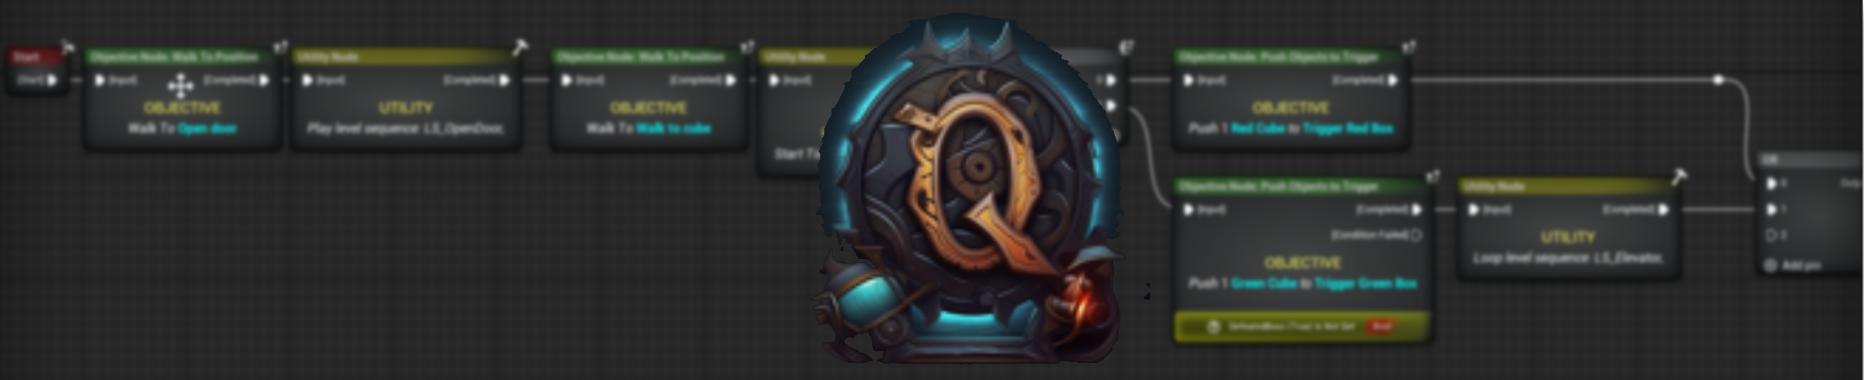
Mission Objectives are specifically for the Objective Nodes in mission graphs and they are used as tasks that the player must complete to continue the mission flow.
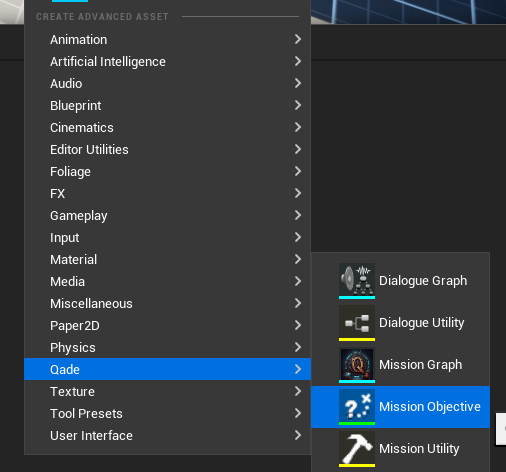
To create your own objectives you can:
- Right click in the content browser.
- Hover over Qade.
- Click on the Mission Objective
Adding Functionality
Mission Objectives work the same way as blueprints! You can add functionality to create your own Objectives.
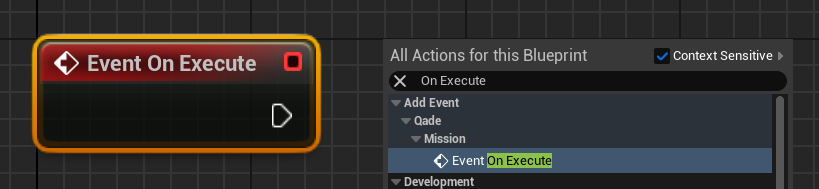
On Execute Event Node
The On Execute Event will be called when the objective starts and this is where you can start your logic for the objective.
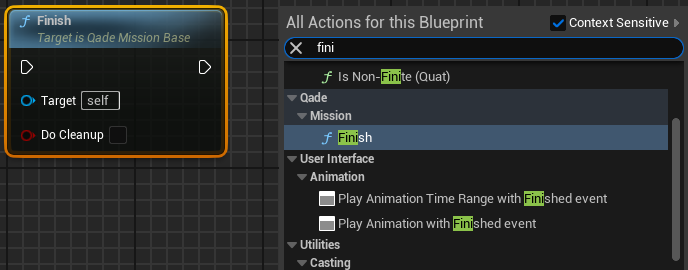
Completing/Finishing Objectives
To finish/complete an objective you will need to call the Finish Function as this sends a signal to the mission system that this objective has been finished.
Fail a Objective
If you want to add the option to fail an objective, you need to enable it by doing the following:
- Going to the Class Defaults.
- Enable Can Fail Objective.
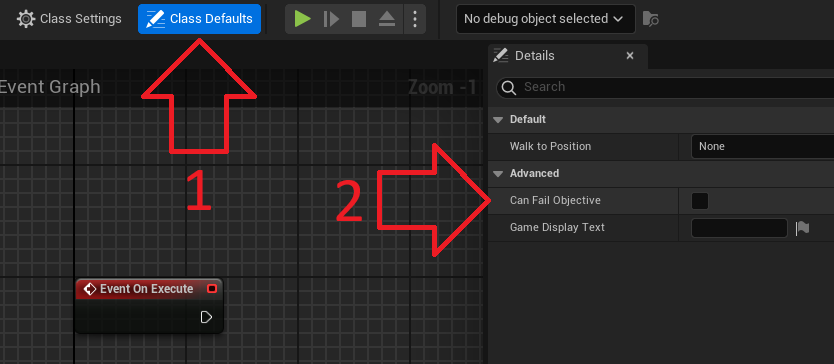
After that you would need to call the function shown below.
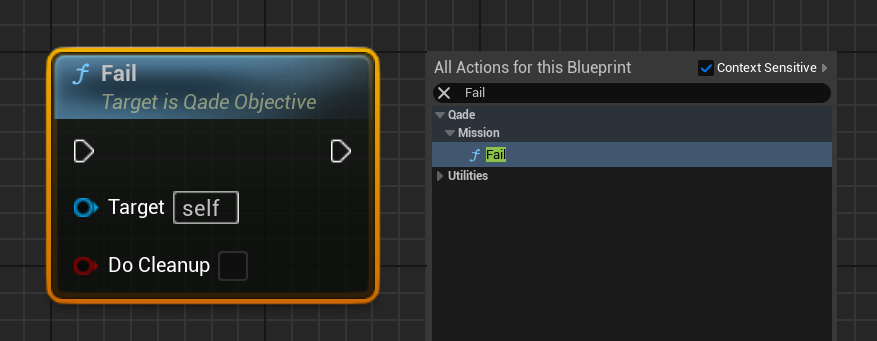
This will now add an extra pin to the objective node in the mission graph which will be called by the fail function.

Variables
Creating custom variables for your objective works the same as any other normal blueprint variable. But there are some things to keep in mind especially when adding variables for references to actors in the world.
For references you can't use normal actor references, but you will either need to use:
- Soft references, this will let you select a actor from the level but limits you to that level as it selects a actor from a specific level.
- Tags, this is a useful way to make a mission especially if you want to re use the mission.
We also validate the variables but this is not for all the variables turned on. To do that you would need to click on the Eye. This will validate if the value has been filled in.
![]()
Mission Utilities
Mission utilities are created in the same way as objective but with a few key differences.
- In the content browser, click on Mission Utility instead of Objective.
- Utilities cannot officially fail. Instead, the class defaults tab has a "Has Custom Pin" option that can be enabled
- Instead of the Fail function, the Execute Custom Output pin function should be called.
Overridable Functions
Both Utilities and objectives have overridable functions.
For Objectives we have the following Functions:
- OnGetObjectiveText: This is used to change the text displayed on the node for easier use when creating missions in the graph.
- OnGetWaypointLocation: Here you can set the location where the waypoint will spawn if spawn waypoint is enabled in the graph.
As for utilities we just have:
- OnGetEventText: This does the same thing as OnGetObjectiveText as it changes the displayed text on the node.